----------Decorating and crafting with old books----------
Hello everybody, recently I was looking through the classified ads and found somebody, who gave old books away. I am now proud owner of 10 new old books.

I love books. I decorate with them, scan them, take them apart (only if they're not valuable), craft with them and collect them. Sometimes I even read them ;-)
 I also love sites like the graphicsfairy, where you'll find scanned images of old books. This compass is from her site, printed out and used to make this quick card.

 To make this book pillar, all you'll need is an inexpensive old book . I took a cheap romance novel, folded all pages to the middle and ripped off the backing.
Use it to hold your notes, or wrap a ribbon around it for a decorative pillar. If you put a glass circle or something else fire proof on top, you could also use it as a candle holder.
This 2-5-7-10 box was decorated with pages from an old dictionary.
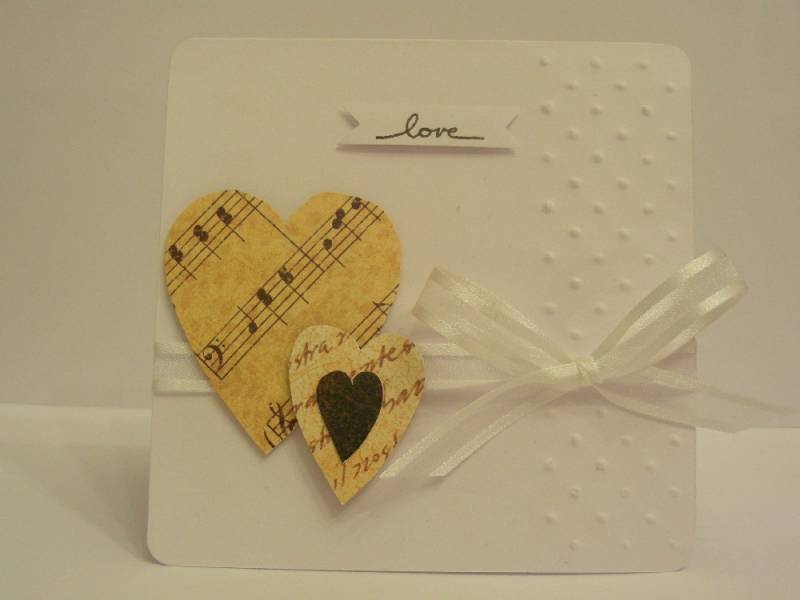
Except for the thickness of the paper you can use bookpages in the place of patterned paper on most papercrafts you do.
 If you're using old books, make sure it's not a favorite of a family member. My mom wasn't very happy a few years ago, when I took "The little prince" and made an earring holder out of it.
Since then I came to regret using that book myself, so pay attention to which books will get taken apart and which are better used for something, that doesn't harm them. Like decorating a tablescape, leaving them in your bookshelf, scanning them, or even selling / giving them to somebody who will appreciate your old books.
If you're using old books, make sure it's not a favorite of a family member. My mom wasn't very happy a few years ago, when I took "The little prince" and made an earring holder out of it.
Since then I came to regret using that book myself, so pay attention to which books will get taken apart and which are better used for something, that doesn't harm them. Like decorating a tablescape, leaving them in your bookshelf, scanning them, or even selling / giving them to somebody who will appreciate your old books.
With love
Celstina


 I also love sites like the graphicsfairy, where you'll find scanned images of old books. This compass is from her site, printed out and used to make this quick card.
 To make this book pillar, all you'll need is an inexpensive old book . I took a cheap romance novel, folded all pages to the middle and ripped off the backing.
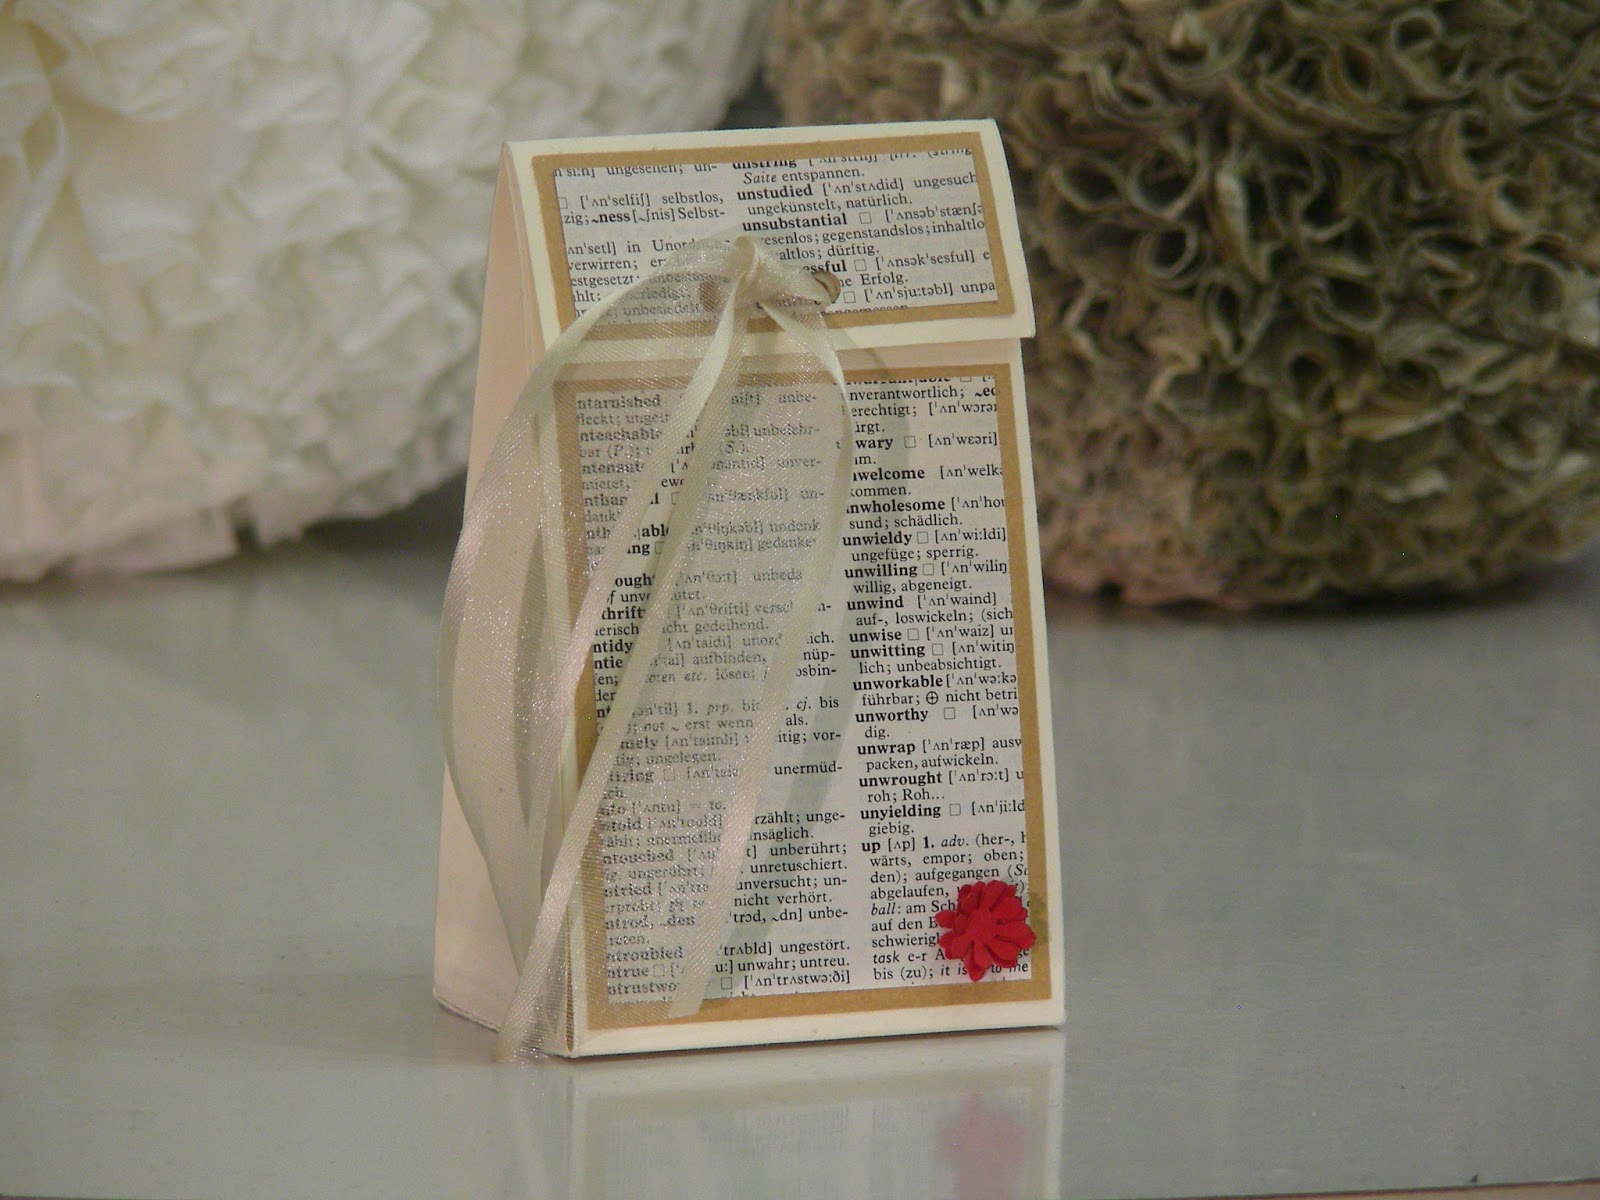
 If you're using old books, make sure it's not a favorite of a family member. My mom wasn't very happy a few years ago, when I took "The little prince" and made an earring holder out of it.